
A client emails you a signed contract. A student receives a scanned archive. An accounts team gets an invoice that looks perfectly readable on screen, yet none of the text can be selected, searched, or changed. You click into the page to correct a date, and the cursor never appears because the “document” is really a flat image inside a PDF.
To edit a scanned document reliably, you need more than a conversion button. You need a workflow that prepares the image, applies optical character recognition, checks the recognized text, repairs the layout, and protects the file while it's being processed. The difficult part usually begins after OCR, when tables shift, columns merge, and a visually convincing page contains small but serious recognition errors.
Table of Contents
- Why Scanned Documents Fight Back When You Edit Them
- Preparing Your Scan for Accurate Text Recognition
- Converting Image Files into Editable Text
- Fixing Layout and Formatting Issues After OCR
- Protecting Privacy When Editing Sensitive Scans
- Building a Reliable Document Editing Workflow
Why Scanned Documents Fight Back When You Edit Them
A scanned page has the appearance of a document but the behavior of a photograph. The letters are pixels, not characters, so a standard PDF editor can often place new text on top of the page without changing the original wording underneath. That distinction matters when you need to update a clause, correct an address, or replace a value rather than just annotate the scan.
Optical character recognition, or OCR, is the technology that makes the change possible. It analyzes the shapes in the image and creates machine-readable text that software can search, copy, and sometimes edit. OCR's commercial roots reach back to the 1970s, when Ray Kurzweil's omni-font system helped move recognition beyond limited-font experiments toward broader document digitization, as described in this history of modern OCR.
Why OCR isn't the same as a clean original file
A born-digital document contains information about characters, paragraphs, fonts, spacing, and page structure. A scan contains visual evidence of those things. OCR has to infer the difference between a letter and a smudge, a table border and a minus sign, or a paragraph break and a line wrapped by the scanner.
That inference works best with clean printed text and a clear page. It becomes less dependable when the source includes faded ink, skew, stamps, handwriting, decorative type, low contrast, or several columns. The output may look close enough at a glance while still changing a name, number, date, or legal phrase.
Practical rule: Treat OCR as a first draft of the document's text and structure, not as proof that the scan has become accurate.
The right workflow depends on the intended change. If you only need to add a signature, comment, highlight, or text box, you may not need to reconstruct the original text. If you need to rewrite the scanned wording itself, OCR should come first. This distinction is also useful when deciding whether PDF files can be edited, because the answer depends on whether the file contains editable text or only an image layer.
Preparing Your Scan for Accurate Text Recognition
The fastest way to create OCR cleanup work is to submit a poor scan and hope the recognition engine will compensate. It usually won't. Image preparation improves the evidence available to the OCR system, which means fewer ambiguous characters and less layout repair later.
Start with the source image
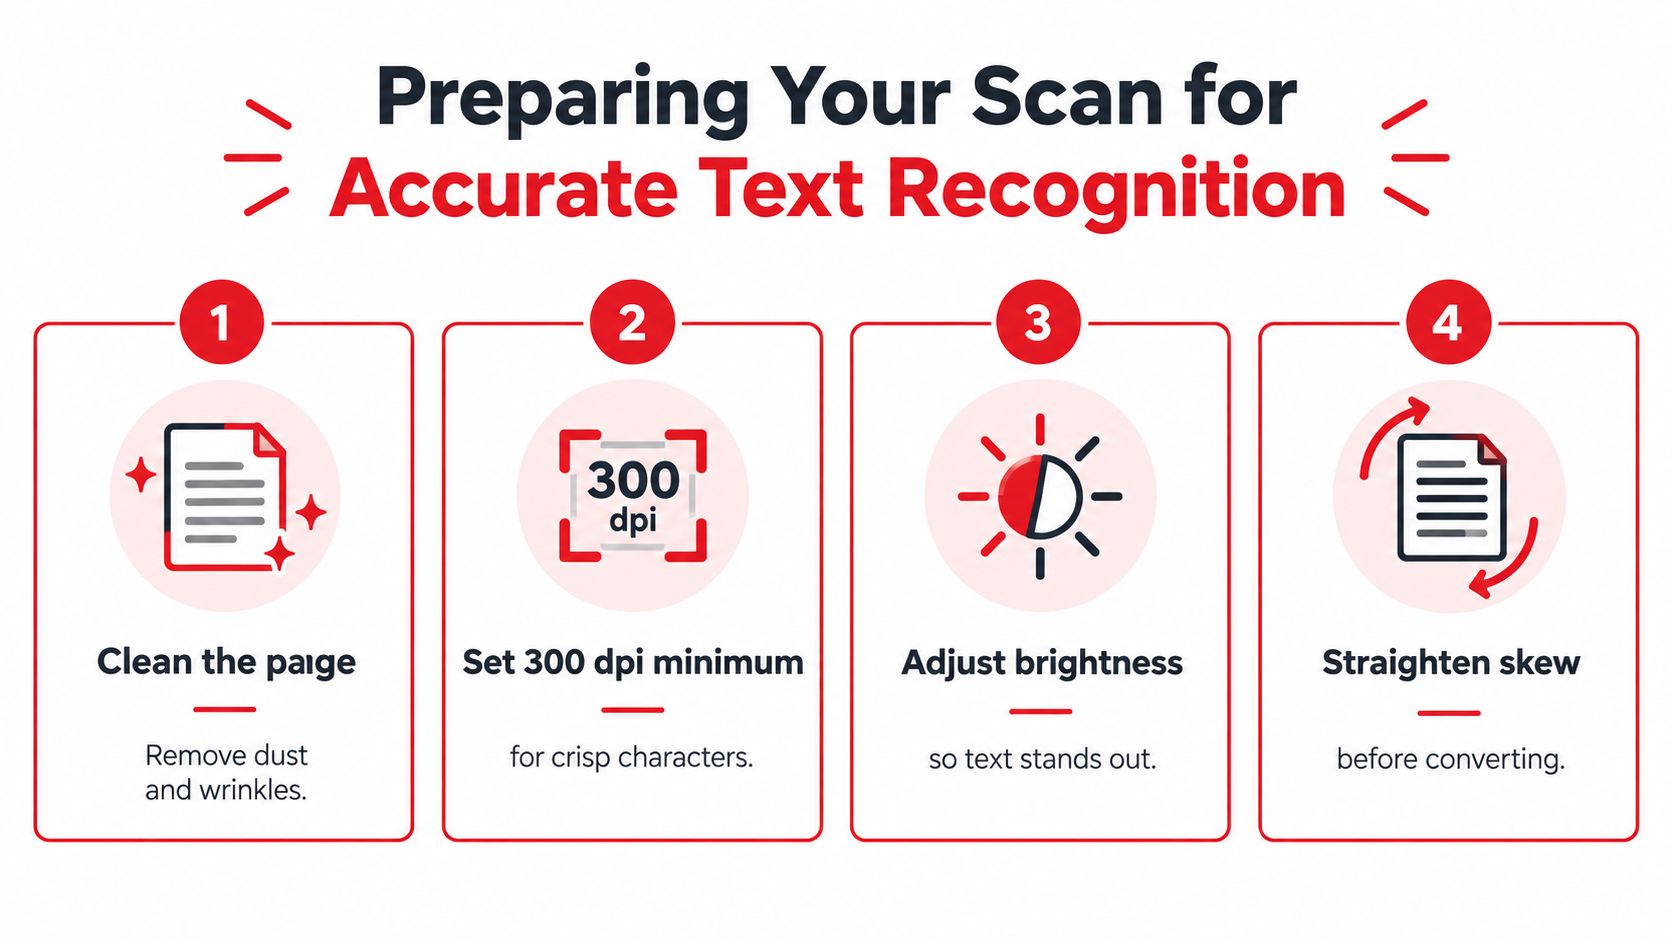
If you still have the paper original, place it flat and capture it with even lighting. Remove dust, folds, clips, and visible wrinkles where possible. With a phone camera, keep the lens parallel to the page and avoid shadows from the device or surrounding objects. If you only have a digital scan, inspect it at high zoom before conversion. Look for cropped margins, blur, glare, and pages that were captured upside down or at an angle.
For standard document work, acquire the image at about 300 dpi. That target is part of the practical workflow recommended by Penn State's OCR guidance, which pairs acquisition at that level with deskewing, de-noising, OCR, and full visual proofreading. A higher-resolution source can help when characters are unusually small, but resolution alone won't rescue motion blur or severe glare.
Clean the image before recognition
Use image adjustments to make the characters distinct from the page. Grayscale conversion can remove distracting color variation, while moderate brightness and contrast changes can help faded type stand out. Don't over-process the page. Excessive sharpening can turn punctuation into dark blobs, and aggressive thresholding can erase thin strokes or pencil marks.
Then correct the geometry:
- Deskew the page. A small rotation can make text lines, columns, and table boundaries harder to identify.
- Remove noise. Reduce specks, scanner streaks, and background texture without deleting character details.
- Choose the recognition language. The correct language setting helps the engine distinguish similar characters and apply appropriate spelling patterns.
- Check the margins. Make sure the first and last characters, headers, footers, and page numbers aren't cut off.
A clean, upright page gives OCR a better chance of preserving both words and relationships between page elements. It also makes the later visual comparison much faster. If the source remains unclear after cleanup, rescanning is often more efficient than correcting every line manually.
For a repeatable capture process, this guide to scanning a document to PDF can help you establish a consistent source file before recognition begins.
Converting Image Files into Editable Text
Once the scan is prepared, create a working copy and keep the untouched original separate. Run OCR on the copy, select the document's actual language, and choose an output that matches the job. A searchable PDF preserves the page image while adding a text layer. An editable document format can make broad text changes easier, but it may introduce more visible layout movement.
The choice should follow the task. For a short correction on a page that must retain its original appearance, a searchable PDF with targeted edits may be preferable. For substantial rewriting, extracting the recognized text into an editable format can be more practical, provided you're prepared to rebuild parts of the page.
Review recognition in context
Don't review the extracted text as a detached block if the document matters. Open the original scan beside the OCR result and compare line by line. Check names, dates, reference numbers, currency symbols, addresses, headings, footnotes, and any wording that could change the document's meaning.
Adobe's guidance for editing scanned documents makes the important point that OCR output needs review. It also notes that you may need to rerun recognition with a selected language or adjusted settings when the first pass produces errors.
Handle partial recognition instead of forcing a full conversion
A partially accurate scan needs a targeted response. Don't assume that a page with readable paragraphs has equally reliable stamps, handwritten notes, signatures, seals, tables, or text placed over a photograph. Mark the regions that need attention and compare each one against the image.
A useful correction pattern looks like this:
- Accept clean body text carefully. Read it against the image rather than trusting visual fluency.
- Re-enter critical values manually. Numbers, dates, identifiers, and names deserve direct confirmation.
- Separate handwriting from typed content. Treat handwritten material as an image unless the recognition result is demonstrably dependable.
- Rerun difficult pages selectively. Try a different language or image treatment instead of repeatedly processing the entire file.
- Preserve the original page. Keep the scan available for every disputed character and formatting decision.
OCR can make a document searchable without making every character editable in a useful way. If the conversion has grouped nearby text incorrectly or created fragmented blocks, fix the structure before making substantive edits. A practical explanation of OCR can help clarify the difference between a text layer and a fully reconstructed document.
Fixing Layout and Formatting Issues After OCR
Text recognition is only half the job. The hidden friction appears when the software understands the words but misunderstands the page. A scanned form may become a sequence of unrelated text boxes. A two-column article may read across both columns. A table may lose its row boundaries, while a chart label may be mistaken for ordinary paragraph text.

Repair the page in the right order
Start with large structural elements, then work toward local typography. If you correct individual words before fixing columns and text blocks, later rearrangement can undo your edits.
- Restore reading order. Confirm that headings, columns, captions, and footnotes are arranged as they appear in the scan.
- Rebuild tables. Check every row and column boundary. If cells have merged, recreate the grid or place the values into a structured table before editing them.
- Align headings and labels. Headers often use different spacing or positioning from body text, so don't let them inherit the nearest paragraph's formatting.
- Replace missing symbols manually. Check bullets, quotation marks, mathematical signs, currency marks, and separator lines against the image.
- Match the visual hierarchy. Adjust font size, weight, indentation, line spacing, and alignment only after the text blocks occupy the correct positions.
The main layout failures are predictable. OCR can misread stretched text, words embedded in charts or graphics, pages with poor contrast, and rotated or complex content. The University of Nevada, Reno guidance on scanned documents emphasizes these limitations and the need for preprocessing and post-recognition review.
Decide whether to preserve or rebuild
There are two valid editing strategies. Preserve the page when its appearance is important, such as a signed agreement, archival form, or official record. In that case, keep the original image as the visual foundation and add carefully positioned editable elements where changes are necessary.
Rebuild the page when the content needs extensive revision or reuse. Extracting the text into a clean document may produce a more maintainable result than repairing dozens of fragmented objects. The trade-off is that you'll need to recreate the original hierarchy, table structure, headers, and page breaks.
The cleanest text extraction isn't always the most useful final document. Choose the output based on whether readers need the original appearance, editable structure, or both.
For small corrections, inspect the background around the changed area. A replacement text block may have a slightly different font, weight, or spacing. On textured paper, a plain color patch can also be visible even when the new wording is correct. Zoom out after local repairs, because an edit that looks acceptable at high magnification may disrupt the page at normal reading size.
When the goal is to move content into a conventional editable file, a PDF to Word document workflow can be useful, but plan for a formatting pass rather than expecting a perfect visual clone.
Protecting Privacy When Editing Sensitive Scans
Scanned documents often contain the information people most need to protect, including contracts, identity records, financial paperwork, employee files, and completed forms. OCR creates a second privacy question beyond the document itself: where does the file go while the system analyzes it?
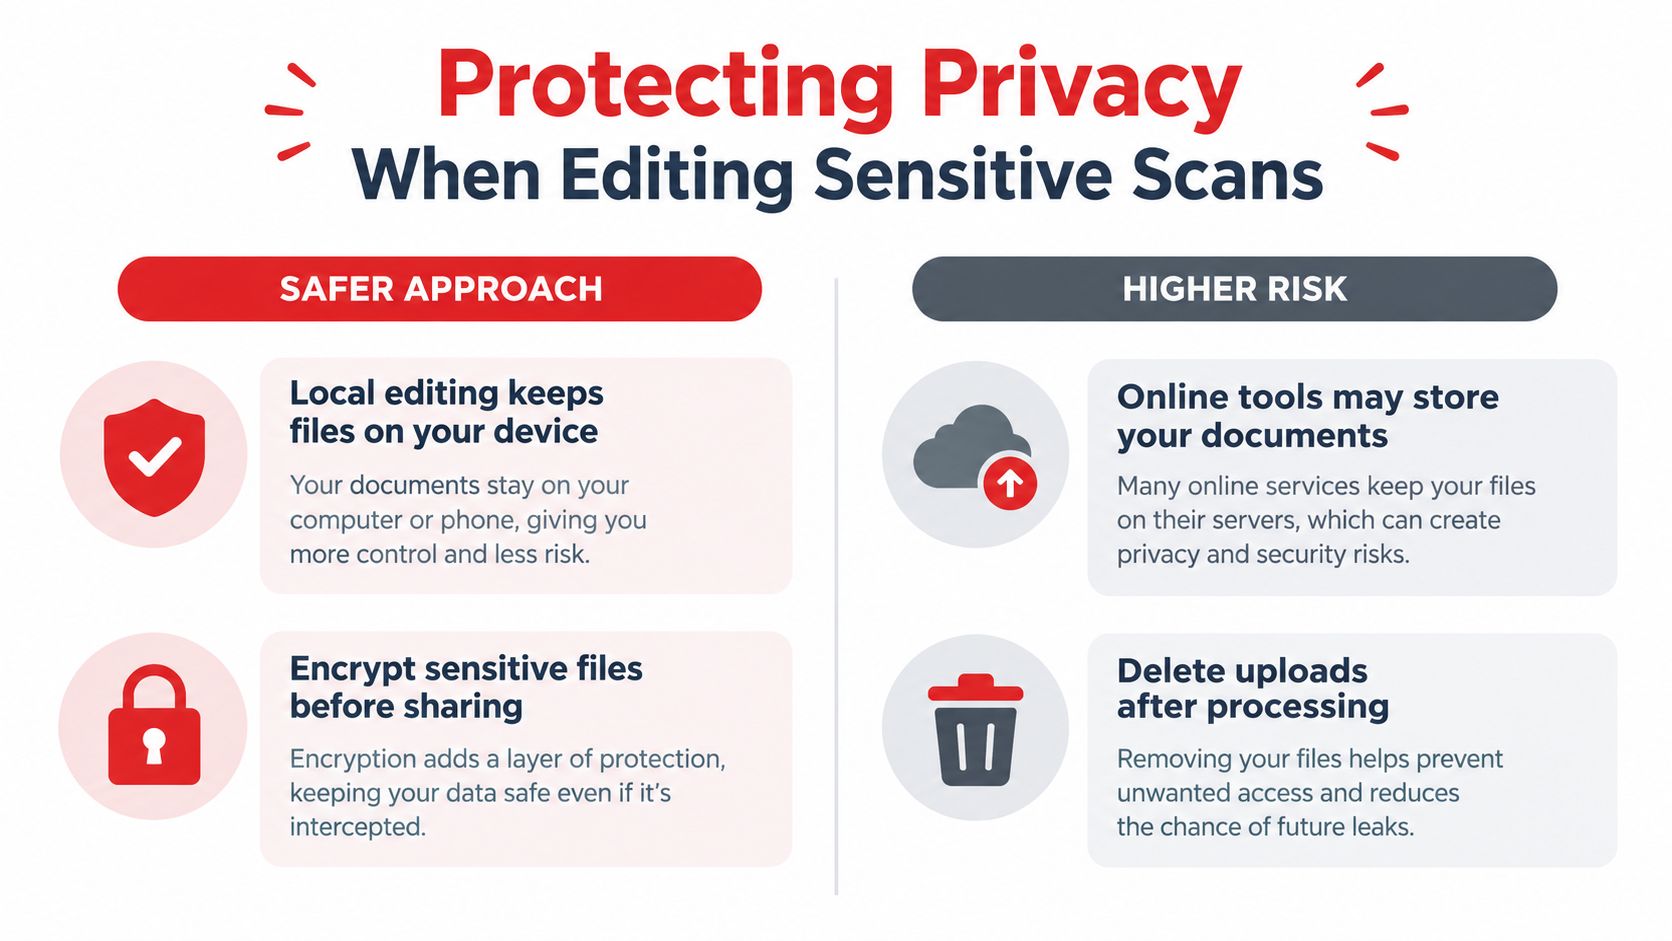
Local browser processing keeps the file on the device and reduces upload exposure. Server-side processing can support heavier recognition tasks, but it requires you to understand how the service receives, stores, processes, and deletes the document. The overview of OCR privacy trade-offs highlights this local-versus-cloud decision, especially for sensitive or regulated material.
Compare the processing paths
| Processing approach | Main benefit | Main question to ask |
|---|---|---|
| Local browser processing | The file can remain on the device during the task | Can the device handle the recognition workload? |
| Server-side processing | Remote infrastructure may handle more demanding jobs | Is upload, retention, access, and deletion clearly explained? |
Neither option is automatically appropriate for every file. A local workflow may be preferable for a confidential single document, while a server workflow may be necessary for a demanding recognition task or a larger operational process. The decision should follow the sensitivity of the content, the technical capability of the device, and the provider's documented controls.
Before uploading, look for clear answers about encryption in transit, temporary storage, deletion timing, staff access, account requirements, and whether files are used for other purposes. If the policy is vague, treat that uncertainty as a workflow risk. For highly sensitive material that requires human handling, a specialist sensitive document transcription service may be a more appropriate route than an unexamined upload.
Reduce exposure before and after OCR
Keep the original in a controlled location and create a working copy with only the pages required for the task. Remove unnecessary attachments and redact information that the editor doesn't need to see. Don't confuse a visual white rectangle with secure redaction. The underlying content may remain recoverable unless the tool applies a genuine redaction process.
After editing, check the exported file for hidden text, comments, metadata, and unintended pages. Apply password protection when the recipient and workflow require it, using a documented method for protecting a PDF. Then delete temporary copies from downloads folders, shared workspaces, and processing queues according to your organization's retention rules.
Building a Reliable Document Editing Workflow
A dependable process treats accuracy, layout, and privacy as separate checkpoints. A document can contain correct words but a broken table, or a polished page with one incorrect account number. Finish only when the content and the presentation have both been compared with the source.
Use this sequence for routine work:
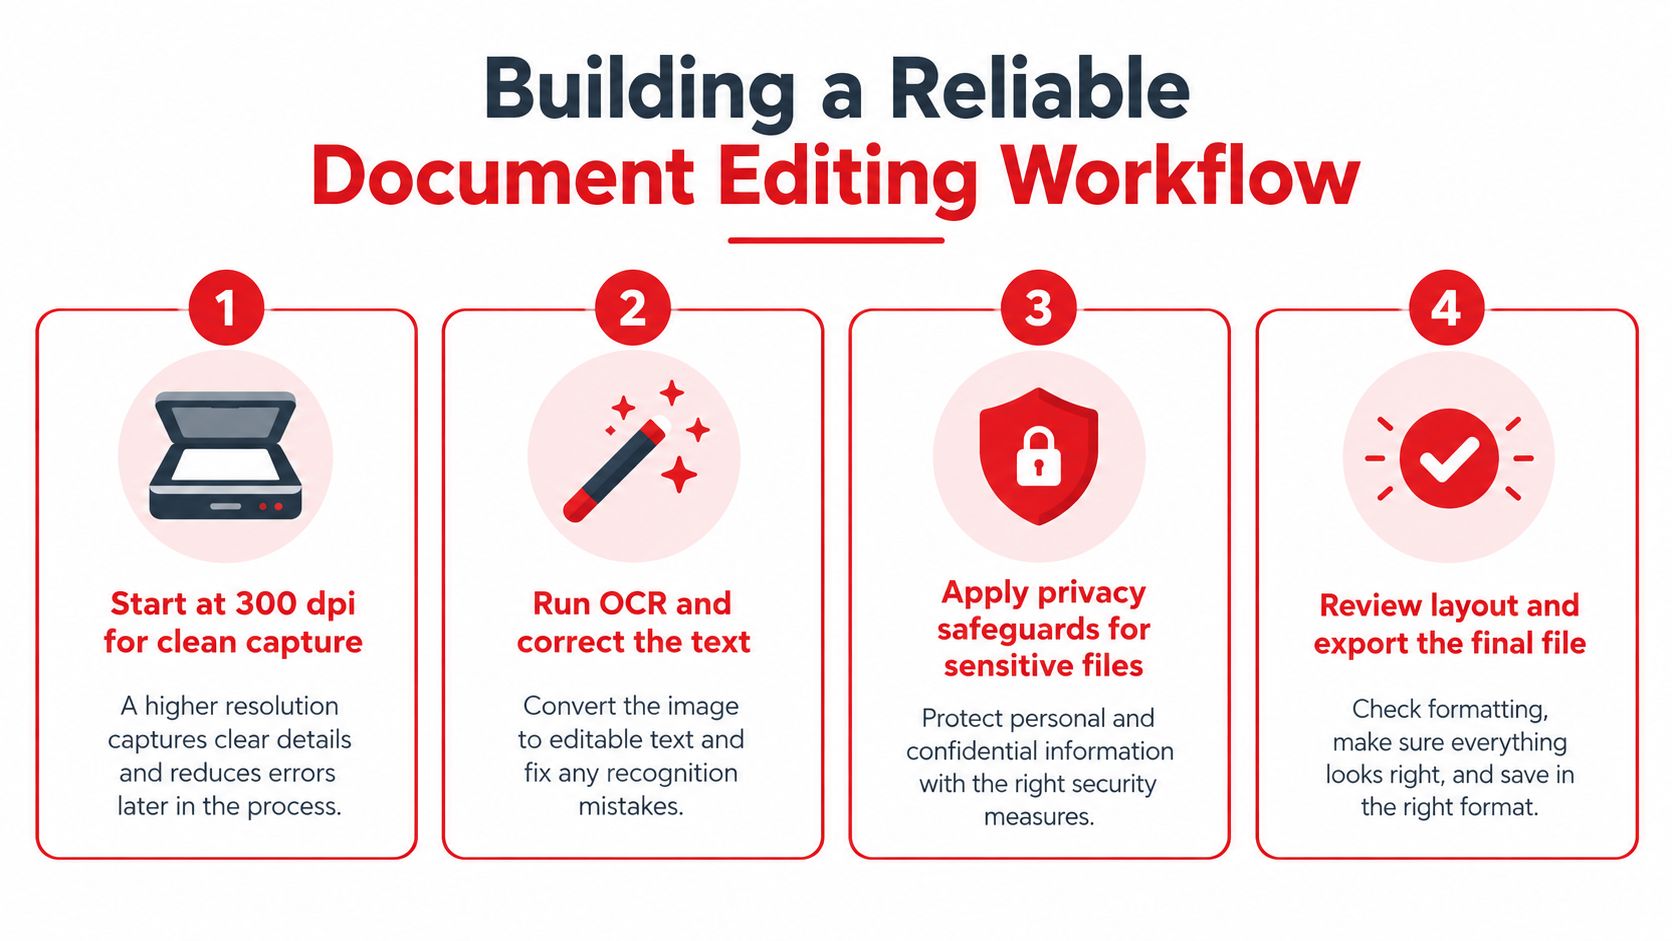
- Capture and preserve. Start with a clean scan at about 300 dpi, correct skew and noise, and save an untouched original.
- Recognize and inspect. Run OCR with the correct language, then compare the output with the page image. Pay special attention to critical fields and difficult visual regions.
- Repair the structure. Restore columns, tables, headings, symbols, spacing, and page breaks before making the final content change.
- Secure and export. Choose local or server processing deliberately, remove unnecessary temporary copies, review the finished file, and export only after the visual check.
Accuracy has a practical cost. A historical digitization review reported that about nine out of ten OCRed pages reached at least 99% character accuracy without manual correction, while raising the target to 99.995% could increase digitization costs by roughly 8 to 10 times, according to this review of OCR accuracy and digitization economics. That doesn't mean a 99% result is acceptable for every document. It means the right review depth depends on the consequences of an error.
For a casual archive search, a few noncritical recognition mistakes may be tolerable. For a contract, medical record, tax document, or identity file, manually verify every consequential field. Teams building repeatable processes can also use a team AI productivity blog for broader workflow ideas, but the document itself still needs a source comparison before approval.
The practical standard is simple: preserve the source, improve the image, recognize the text, repair the layout, verify the meaning, and protect the output. That sequence is faster than retyping a difficult document and safer than trusting an unchecked conversion.
PDFWix provides browser-based tools for OCR, PDF editing, conversion, annotations, signatures, and document protection, with many operations processed locally on your device. Visit PDFWix to turn a scanned file into a searchable, editable document while keeping the review and privacy steps in your workflow.