
The submission portal accepts JPG, but the file on your device is a PDF. You only need the first page, the deadline is close, and taking a screenshot feels tempting. A proper conversion gives you more control over readability, page boundaries, and file size.
Learning how to convert PDF to JPG for free is straightforward. Getting a useful result means choosing resolution and compression for the job, rather than accepting whichever settings appear first.
Table of Contents
- Convert PDF to JPG in Your Browser Step by Step
- Resolution Settings for Screen, Print and Archive
- Exporting Every Page with Clear File Names
- Finding the Smallest JPG That Stays Readable
- Keeping Sensitive PDFs Private During Conversion
- Decide When JPG Is the Wrong Output
Convert PDF to JPG in Your Browser Step by Step
Each converted page becomes a fixed raster image, a visual snapshot rather than the structured document described in Adobe's PDF accessibility overview.
Our core PDF tools are free, require no account, and add no watermark. Before selecting a confidential document, check the privacy guidance below so you know where processing happens.
Convert a page without guessing
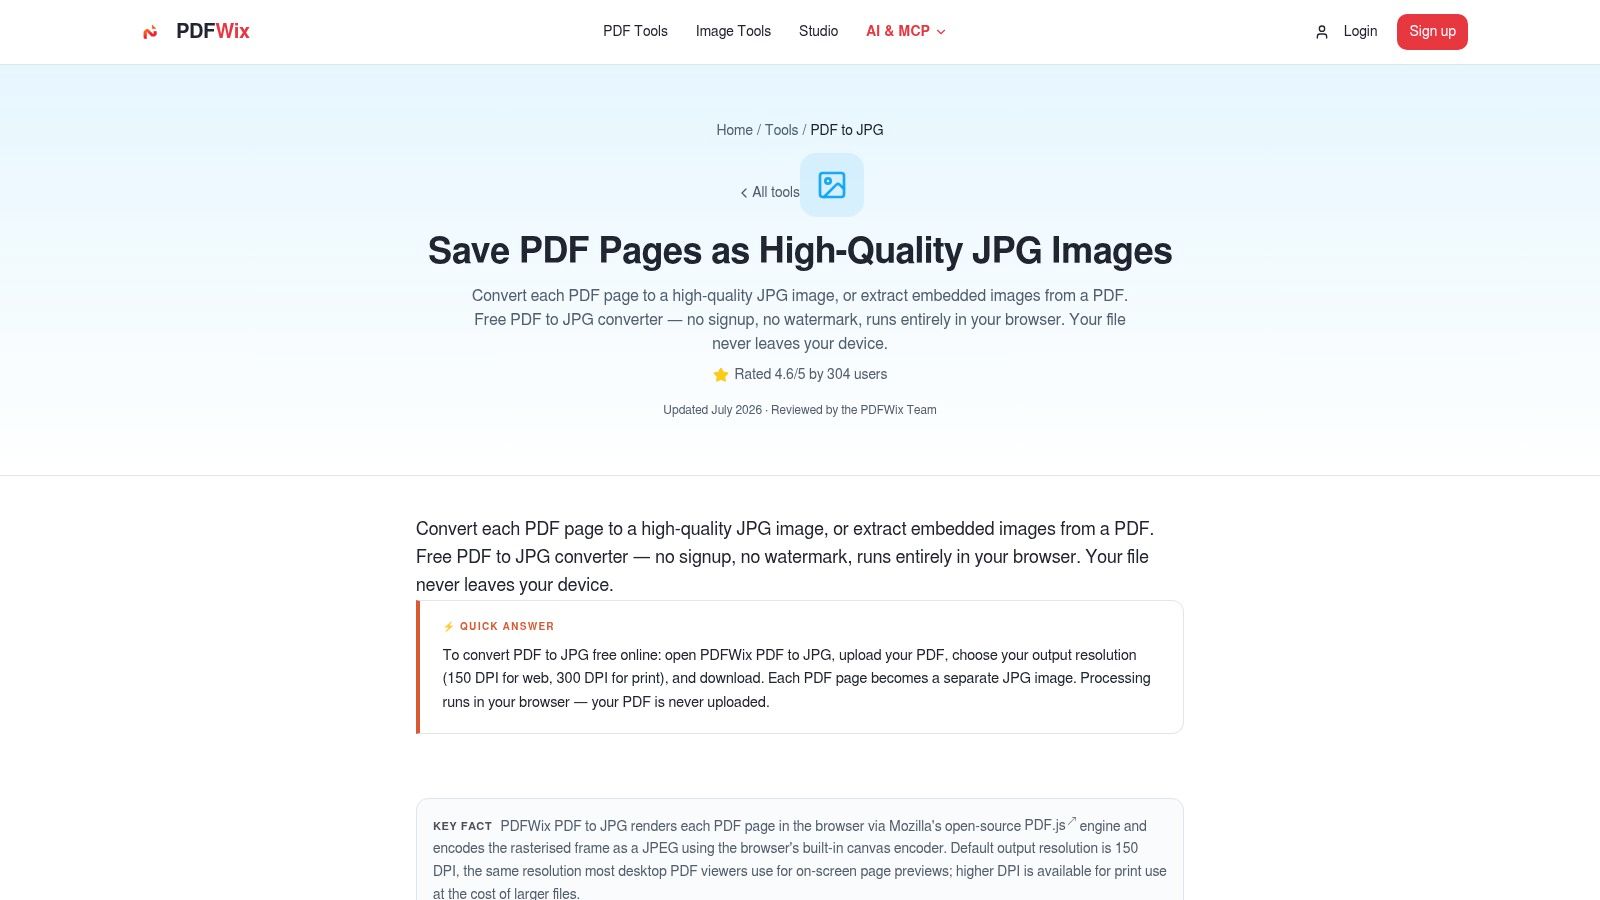
Open the converter and select your file. Open the PDF to JPG converter, then drop your PDF into the upload area or click to select it from your device. Check the filename before continuing, especially if your folder contains both draft and signed versions.
Confirm JPG output and whole-page conversion. Choose the option that renders PDF pages, rather than extracting embedded photographs or graphics. Extracting an image won't reproduce the surrounding text, margins, or signature fields.
Choose resolution for the destination. Use the DPI lookup table in the next section to choose between screen viewing and print-oriented output. If the converter doesn't expose a resolution control, inspect the downloaded dimensions instead of assuming its default is suitable.
Select all pages or the required range. A range saves unnecessary work when the portal needs only a signature page. Match the selection to the PDF viewer's page positions, because printed page labels can differ from the file's actual sequence.
Start conversion. The output is ready in seconds, with no installation needed. Wait for the download control rather than closing the tab as soon as the preview changes.
Download and reopen the images. Inspect the actual saved file, not just the browser preview. Check small letters, page edges, and any stamp that the recipient needs to read.
Recognize a usable export
For a practical starting point, Apify's PDF-to-image technical profile recommends 150 DPI for screen viewing, 200–300 DPI for printing, and inspection at 100% zoom; a US Letter page at 150 DPI becomes approximately 1275 × 1650 pixels. A low-resolution preview may look acceptable when reduced to fit your screen but become visibly soft in print.
A successful export has every requested page, upright orientation, intact margins, and readable small text. If your preparation also involves page selection or cleanup, the browser-based PDF workflow guide explains how to keep those tasks in a manageable sequence.
Resolution Settings for Screen, Print and Archive
DPI, color mode and format by purpose
| Use case | DPI | Color mode | Format and quality |
|---|---|---|---|
| Screen preview and email | 150 | RGB, white background | JPG, quality 80–85 |
| Ordinary sharing and web upload | 150 | RGB | JPG, quality 85 |
| Printed forms and body text | 200–300 | RGB or grayscale | JPG at quality 90, or PNG |
| Small print, signatures and stamps | 300 | RGB | PNG (lossless) |
| Archival or evidence copy | 300–400 | sRGB or grayscale | TIFF or PNG; keep the original PDF |
Treat these rows as starting settings. Confirm them against your institution's preservation requirements before relying on any single row. For archival work, Massachusetts Archives digitization guidance recommends roughly 300–400 PPI for printed text and emphasizes the relationship between resolution, clarity, and storage size.
Set purpose before pixel count
The National Archives digitization requirements specify a minimum of 300 PPI at the source document's size for image files in the covered workflow. Use that baseline whenever readable document detail matters. An email preview can sit far below it.
For anything headed to a printer, I start at 300 and drop lower only when file size forces the trade. For the archival row, the exported image works as a reference copy while the PDF stays the record, since a flattened image sheds the searchable text layer.
Converters often label their resolution control DPI, while image guidance uses PPI. For this task, focus on how many pixels represent the page at its intended physical size. Changing a resolution label without adding pixels doesn't improve the image.
Practical rule: Choose the purpose first, resolution second, and output format third. Compression comes after those decisions.
Doubling the rendering resolution doubles both image dimensions, so the pixel count grows much faster than the resolution setting suggests. The larger image may preserve fine source detail, and it also requires more memory and commonly produces a larger download.
Higher resolution can't reconstruct a signature that's already blurred in the source scan. It can only represent the available detail with more pixels.
For classroom schedules intended for paper, the Teacher Planner weekly printing guide is a useful companion when planning the final printed layout. Check the page at its intended print size before committing.
Find the row closest to your destination, export a representative page, and inspect it at actual pixel size before converting the whole document.
Exporting Every Page with Clear File Names
A multi-page conversion produces a set of images, not a replacement document with built-in page order. Managing those files is part of the conversion, particularly when you're submitting attachments separately.
Create a folder named after the source document before downloading. Use sequential filenames such as page-001.jpg and page-002.jpg, or add a document prefix when several exports will share a destination. Reusing a single filename risks replacing an earlier page with a later one.
Prepare the sequence before exporting
If the PDF contains scrambled or unwanted pages, fix those with the organize PDF tool before conversion. When you only need a subset, follow the guide to extracting pages from a PDF so the working document contains exactly what you'll send.
Say you're preparing a lease and a signed page was scanned sideways. Rotate that page in the PDF first, then export the corrected source. Otherwise, you'll need to rotate a separate image afterward and check that you haven't accidentally changed its dimensions or compression.
For several PDFs, finish one document before starting the next. Move or rename its images immediately, rather than leaving similarly named downloads together and trying to identify them later.
Check the set, not just the preview
- Count the outputs. The number of images should match the number of selected source pages, not necessarily the full PDF.
- Check the endpoints. Open the first and last exported pages and compare them with your intended selection.
- Inspect orientation and boundaries. Confirm that no page is sideways and no signature, footer, or annotation has been cropped.
- Keep names meaningful. If an extracted page starts a new sequence, record its original page position in the filename when that matters to the recipient.
Don't assume a successful download proves the set is complete. A readable first image won't reveal a missing attachment further down the sequence.
Finding the Smallest JPG That Stays Readable
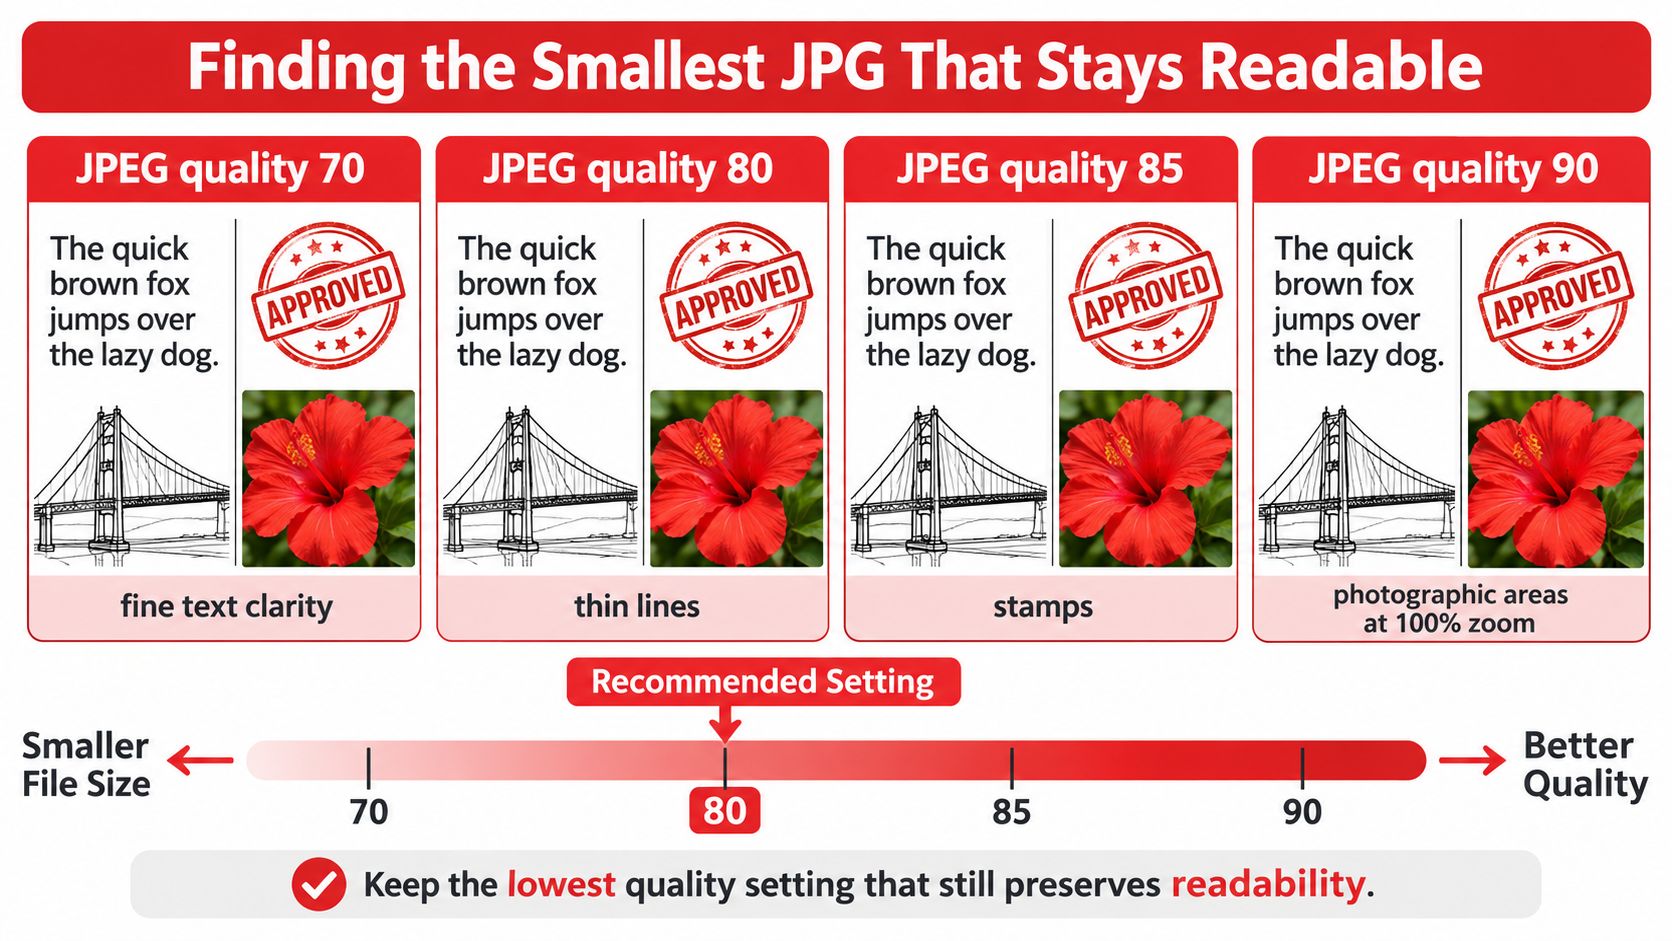
Export a representative page at quality 70, 80, 85, and 90, then compare fine text, thin lines, stamps, and photographs at 100% zoom. Keep the lowest setting that preserves the information the recipient needs.
JPEG quality levels and what to check
| Quality | What to check | Typical result |
|---|---|---|
| 70 | Edges of small letters and thin rules | Smallest test file; watch for blur or blocking around letters |
| 80 | Body text and plain paragraphs | Often legible for plain text; inspect stamps and photos separately |
| 85 | Fine text, signatures and photos | Common default; often much smaller than maximum quality while looking close |
| 90 | Line art and sharp edges | Sharpest option in this test set; larger file, so use it when needed |
Treat these as comparison targets. Actual results depend on the converter, because quality numbers aren't standardized across software, so test in the tool you'll use. A setting that works for a photographic portfolio page may leave distracting halos around a dense invoice.
Separate readable from identical
JPG uses lossy compression. An image can look unchanged at normal viewing size and still fail as a pixel-exact copy for forensic comparison, OCR training, or repeated editing.
Test the hardest page first: the one with faint handwriting, compact footnotes, or a pale stamp. An easy title page tells you little about whether the same settings will preserve a detailed attachment.
For broader publishing decisions, PostSyncer's resource on image compression for content creators offers relevant context for balancing display quality and download size. If the completed image exceeds the destination's limit, run a copy through an image compression utility, then compare the result before replacing your delivery file.
A smaller attachment only helps if the recipient can still distinguish the characters that matter.
Avoid repeated JPEG saves
Each lossy encoding discards more information, so don't save a JPG, edit it, and save it again as your working master.
Keep edits in the source PDF or a lossless PNG intermediate, then encode the final JPG once. Upload that final file to the destination system and inspect its preview too, because an accepted file can still display poorly.
Keeping Sensitive PDFs Private During Conversion
An HR team converting an offer letter or a legal team exporting a signed agreement should check where processing happens before choosing image settings. A free converter still needs a confidentiality check.
When the converter runs in the browser, the file is processed on your device and is not uploaded. That reduces exposure during conversion, but the exported JPG still carries the same sensitivity as the source page.
Use a deliberate handling routine
- Confirm the processing model. Read the tool's privacy statement before selecting confidential content. Look for an explicit statement that conversion happens locally, and do not infer it from “free” or “no account.”
- Test with a harmless sample. Learn where downloads land, what filename pattern is created, and how multi-page output is ordered before using an employee record or signed agreement.
- Use a controlled device. Prefer your own managed computer to a shared or public machine, keep the session locked when unattended, and follow your organisation's document-handling rules.
- Clear temporary delivery copies. After sending the JPG through an approved channel, remove unnecessary copies from Downloads, desktop folders and shared drives, then keep the source in its secured location.
- Inspect metadata and page edges. Check the exported image's properties before external sharing, and review margins for stamps, notes or redaction marks the recipient does not need.
The exported file still needs an approved folder, restricted permissions and an approved delivery channel. The guide to online PDF tool safety gives a broader checklist for judging the whole workflow rather than the upload screen alone.
Privacy decision: Decide how sensitive the document is first. Then choose the processing method, storage location and delivery channel that fit that sensitivity.
If your organisation prohibits creating image copies of certain records, do not convert them just because a portal requests JPG. Resolve the submission requirement with the recipient instead.
Decide When JPG Is the Wrong Output
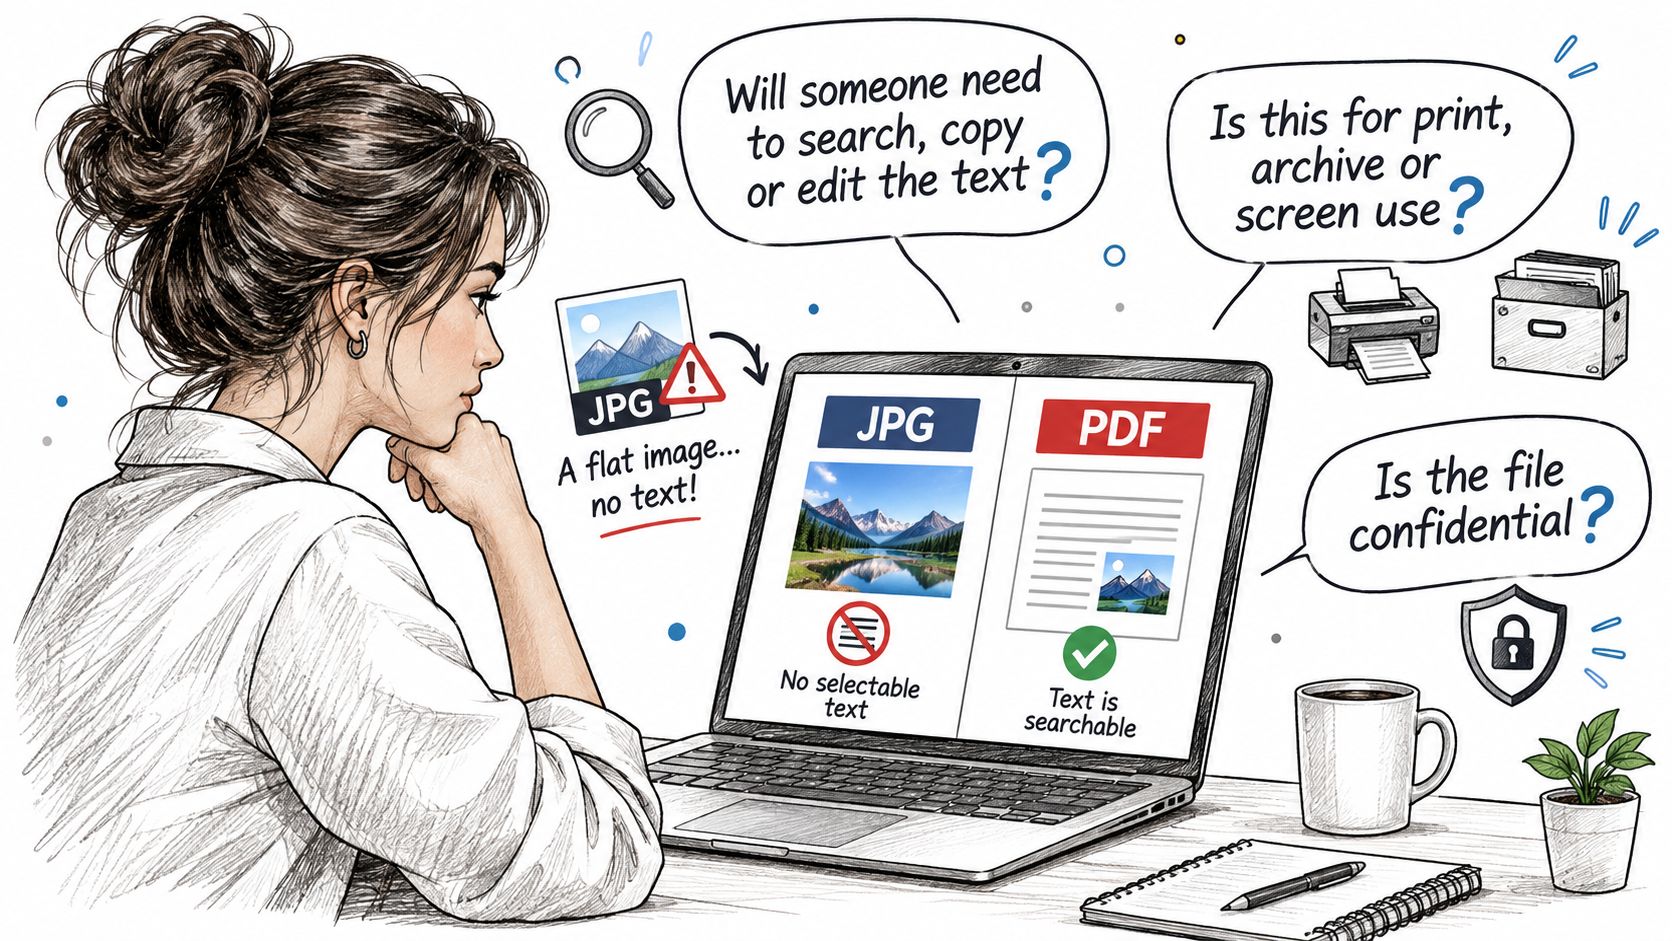
Before exporting, answer these questions:
- Will someone need to search, copy, or edit the text? If yes, retain a searchable document rather than substituting an image.
- Is the destination print, archive, or screen? A visual preview and a preservation master need different outputs.
- Is the file confidential? Permission to view a document isn't automatically permission to distribute another copy.
A JPG doesn't retain selectable text, document structure, reading order, tags, or the original document's alternative text. The VA's document accessibility guidance calls for searchable text, tagged structure, logical reading order, and text alternatives, and warns against relying on text embedded in images for accessibility.
Which output fits each document need
| Output need | JPG fit | Better choice |
|---|---|---|
| Single page for a preview or thumbnail | Yes | JPG at 150 DPI |
| Contract, form or document that must stay searchable | No | Keep the searchable PDF |
| Chart, diagram or line art | Weak | PNG or a scalable format |
| Web content read with a screen reader | No | Accessible HTML or a tagged PDF |
| Archival or evidence master | No | TIFF or PNG master, plus the original PDF |
| Photo-heavy page for sharing | Yes | JPG with a text description |
For formal preservation, follow the receiving archive's accepted formats rather than treating PNG as universally sufficient. Virginia's digital-imaging guidance favors TIFF when color fidelity and fine detail matter.
Preserve the function, not just the appearance
A contract that looks correct can still be less useful after conversion if readers can't search its clauses. A chart can remain visually recognizable while becoming inaccessible to someone using assistive technology. The PDF and JPG format guide helps distinguish these functional needs.
For hiring paperwork, a certificate image is also only a visual copy, not proof that the qualification is valid. CertSeal's guide to checking training credentials before hiring addresses that separate verification task.
Keep the source, provide accessible text or HTML when publishing substantive content, and add a meaningful description wherever the JPG appears. If images need packaging into a document, combine JPG images into a PDF, but don't expect that container change to restore lost text or structure.
Use the image resizing tools when the destination specifies image dimensions. Resize a delivery copy, not your only usable master.
A JPG is a snapshot of the page. Choose the snapshot's resolution for its purpose before you make it.
PDFWix offers free PDF conversion and document-preparation tools without added watermarks. Visit PDFWix to export a test page, check its readability, and create the JPG copies your submission needs while keeping your original PDF intact.