
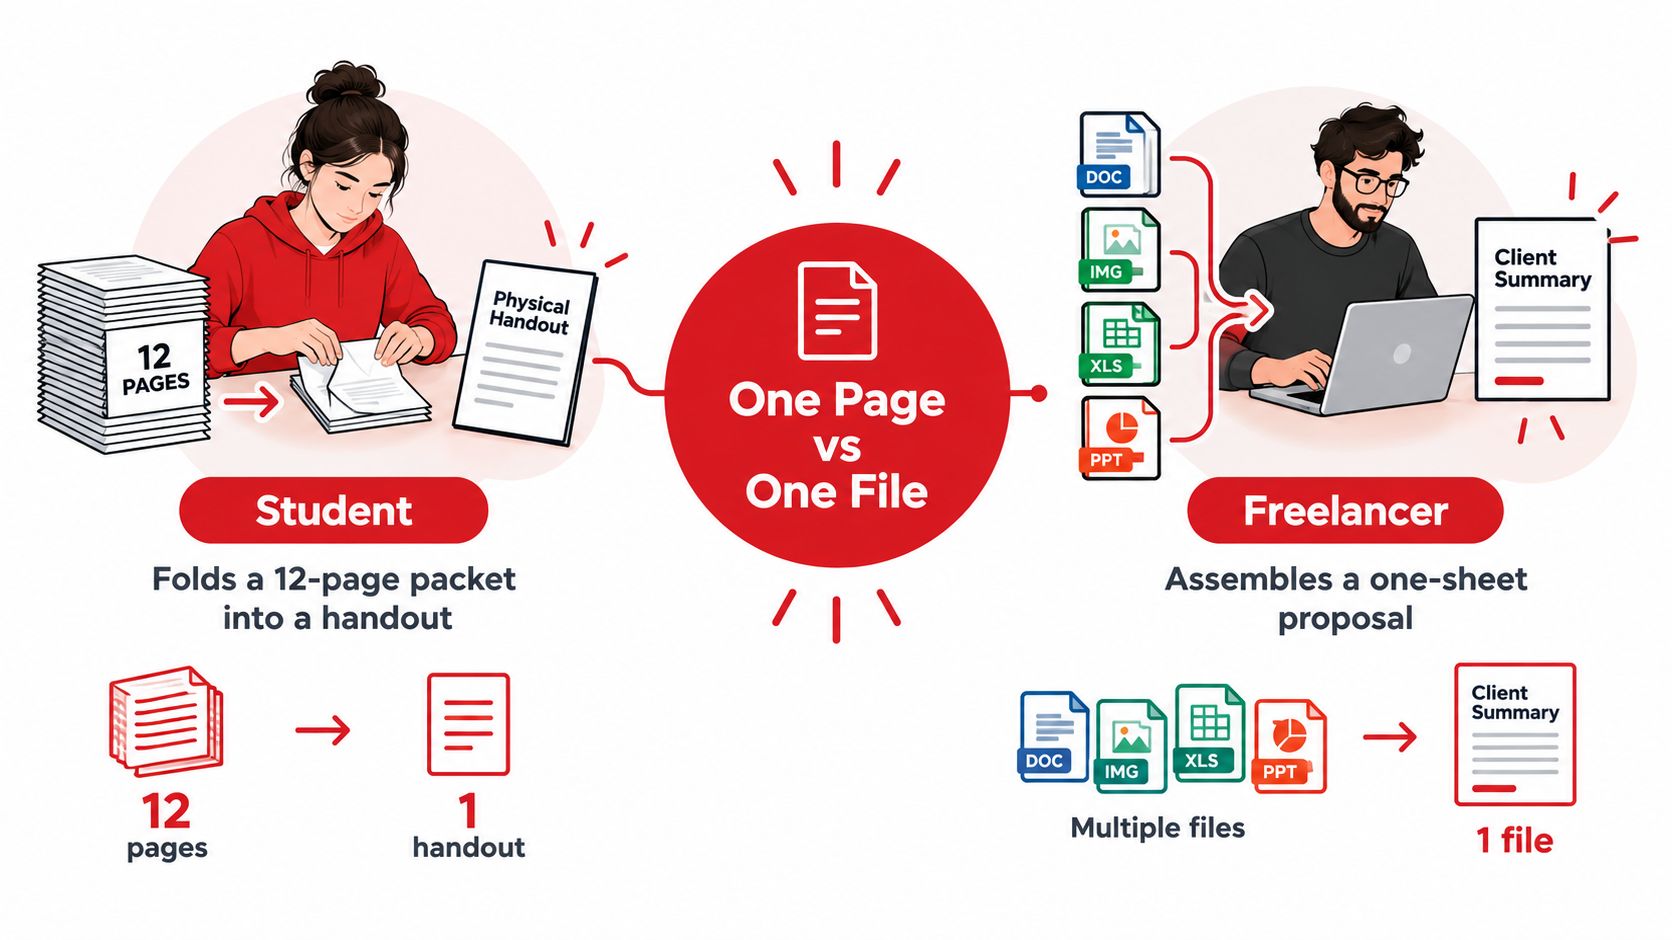
A student has a 12-page reading pack spread across a desk, but the assignment only needs a compact handout for a seminar. A freelancer faces the opposite problem, turning several proposal pages into a single visual summary before a client meeting. In both cases, the goal isn't merely to combine files. It's to place multiple source pages onto one physical or digital canvas.
That distinction matters. Standard PDF merging creates one file while preserving the original page count. N-up merging creates fewer output pages by tiling several source pages onto each sheet. Poster layouts use a related technique in reverse, enlarging one source page across a larger assembled print. The practical paths are usually a browser-based n-up tool, a print-to-PDF workflow, or a more specialized page-imposition process.
Table of Contents
- When You Actually Need One Page Instead of One File
- Using a Browser PDF Toolkit to Merge Pages Into One
- Choosing Between 2-Up, 4-Up, and Poster Layouts
- Settings That Control How the Final Page Looks
- A Print-to-PDF Alternative for Built-In N-Up Output
- Accessibility and Privacy Trade-Offs You Should Not Skip
- Quick Troubleshooting and Final Checklist
When You Actually Need One Page Instead of One File
The student folding the reading pack wants a physical handout that takes less space in a folder. If the twelve source pages are combined into one PDF, the result is still twelve pages. That may organize the file, but it doesn't solve the printing problem. A 2-up layout places two source pages on one sheet, while a 4-up layout places four on one sheet, usually with smaller text.
The freelancer's one-sheet proposal illustrates a different use. A client may need to see a service overview, pricing summary, delivery timeline, and sample visual together. Keeping those pages as separate thumbnails in one PDF makes the file tidy, but tiling them onto one canvas creates a quick-reference document that can be printed, displayed, or reviewed at a glance.
The practical difference
You probably want n-up merging when the output is intended for:
- Lecture notes: Reduce reading material into a compact revision handout.
- Slide reviews: Place presentation slides side by side for comparison.
- Workshop diagrams: Enlarge or tile a large visual for wall display.
- Invoice archives: Pair an invoice and receipt on a single record page.
- Shipping labels: Arrange multiple labels on one printable sheet.
A normal merge workflow is still the right choice when each source page must remain legible at its original size, searchable in its original order, or available for individual printing. It joins documents end to end. N-up composition changes the geometry of the pages themselves.
Practical rule: Decide whether “one page” describes the file structure or the finished sheet. Those are different operations.
PDF's standardized structure is part of why these operations work consistently across software. Adobe introduced the Portable Document Format in 1993, and PDF 1.7 became ISO 32000-1:2008 when it transferred to ISO in 2008, creating a stable foundation for extracting, reordering, and placing page content across compatible tools. The historical transition is documented in this timeline of PDF innovation.
Using a Browser PDF Toolkit to Merge Pages Into One
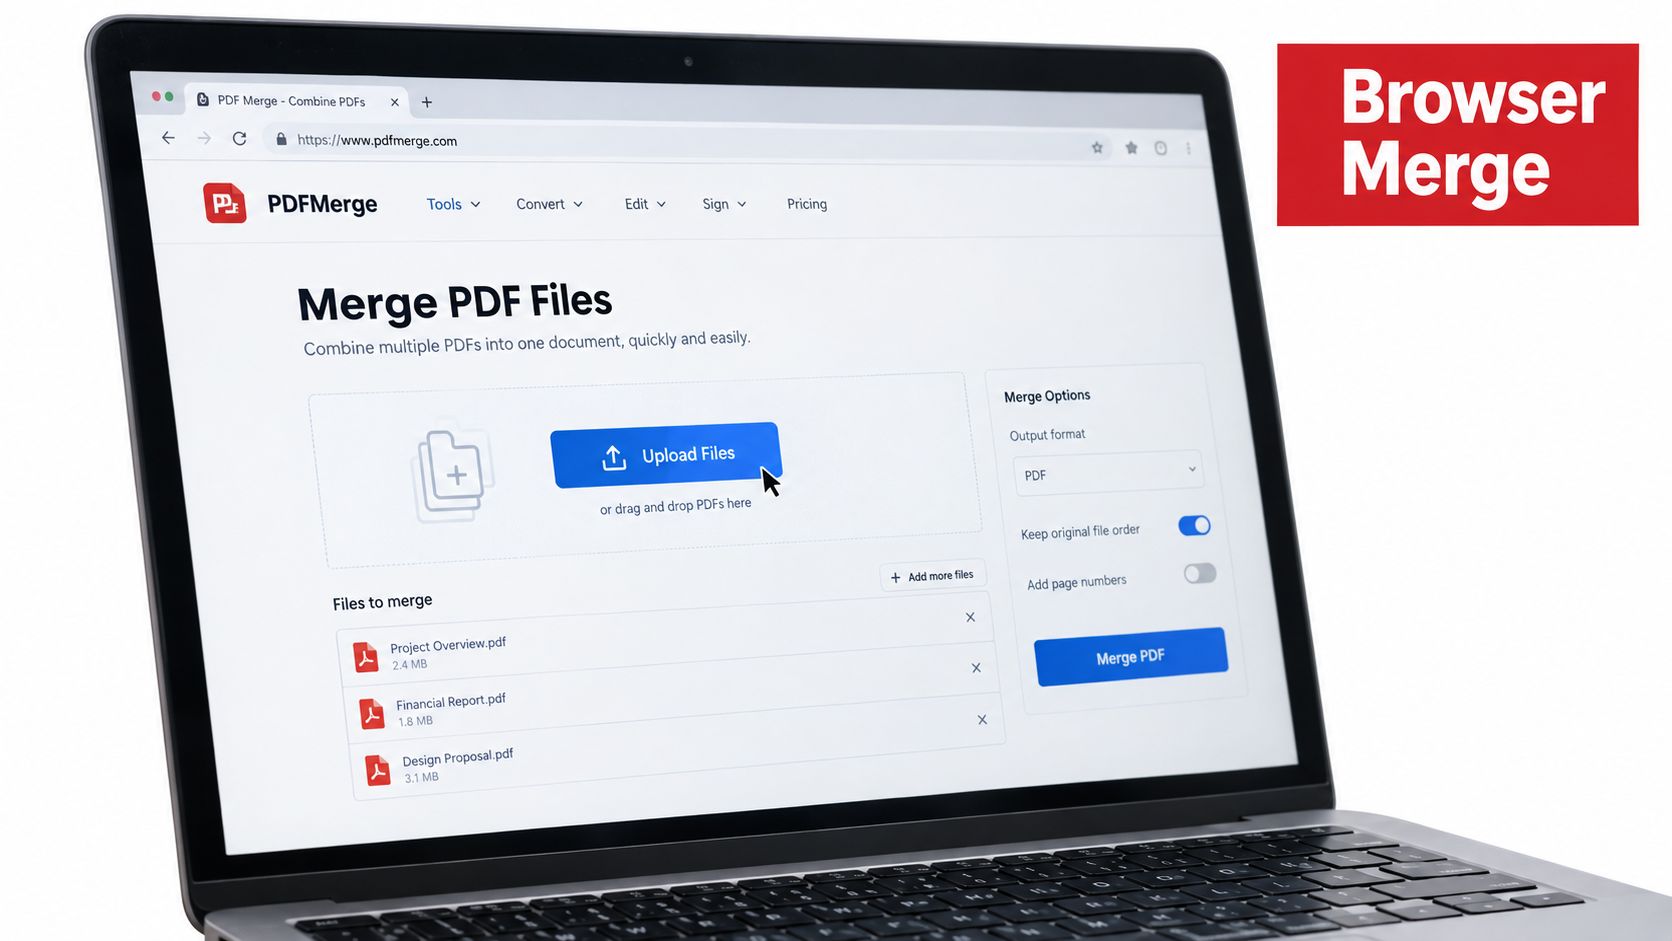
A browser-based toolkit is convenient when the source file is already on your computer and you need a visual result without installing desktop software. The important point is to find the n-up or pages-per-sheet mode, not the ordinary combine command. Standard merge controls often concatenate pages instead of tiling them.
Click through the layout
Use this order so you don't waste time correcting a finished export:
- Open the merge or n-up tool. Choose the page-imposition option from the main menu rather than a file-only merge option.
- Load the source PDF. Use local storage, drag and drop, or the recent-file picker if the toolkit provides one.
- Select merge into one page. Wording varies, so look for a setting that describes pages per sheet, tiled pages, n-up, or multi-page layout.
- Choose the density. Start with 2-up for reading material, 4-up for compact review sheets, or a custom arrangement when the canvas needs a specific grid.
- Set the page range. Apply the layout to the entire document or select only the pages that belong on the condensed sheet.
- Adjust the canvas. Check orientation, scaling, margins, and page-size normalization before exporting.
- Preview the result. Inspect the smallest text, page order, blank tiles, and edges before downloading.
The pages-per-sheet control does the heavy lifting. Documented guidance for merging two or four PDF pages onto one sheet also highlights previewing and normalizing mixed page sizes before export. A file that looks acceptable in a thumbnail can still clip a footer or make one page visibly smaller than its neighbors.
If you need background on ordinary file concatenation before choosing the n-up option, this guide to merge PDF files with FaxZen covers the separate operation. For the page-level workflow itself, the browser PDF merge tool is the relevant starting point.
Keep an eye on processing location
Some modern browser tools process the document locally after loading it, so the file doesn't need to be sent to a remote service for the layout operation. That can matter for contracts, invoices, student records, or internal reports. It also means that a large document depends more heavily on the memory available to the device and browser.
The export should preserve selectable text when the source is text-based, but don't assume that visual consolidation preserves the document's original structure. Treat the output as a designed sheet, then open it independently and test the result before sharing it.
The video below shows the page-tiling workflow in context.
Choosing Between 2-Up, 4-Up, and Poster Layouts
These layouts solve different production problems. Choosing the densest option isn't automatically better, because every additional source page on a sheet reduces the space available for text, diagrams, and annotations.
2-up is the readable compromise. It works well for two facing pages, two presentation slides, or an invoice paired with its receipt. The source pages usually remain large enough for comfortable review, so text often needs little or no resizing. For a spreads printout, check whether the reading order should run left to right or top to bottom.
4-up is the compact workhorse. It suits slide decks, reference notes, draft packets, and internal review copies where readers can tolerate smaller type. It isn't a good choice for a legal form that must be completed by hand or a document whose footnotes carry essential meaning.
Poster layout works in the opposite direction. Instead of shrinking several pages onto one sheet, it enlarges one source page across a larger physical display, sometimes using multiple sheets that are joined after printing. Diagrams, workshop graphics, event signage, and oversized process maps benefit from this approach.
| Layout | Best For | Readability Trade-Off | Typical Output Size |
|---|---|---|---|
| 2-up | Facing pages, slides, paired records | Usually preserves comfortable reading size | Two source pages on one sheet |
| 4-up | Draft review, slide decks, dense notes | Smaller text and less room for annotations | Four source pages on one sheet |
| Poster | Diagrams, signage, wall displays | Requires assembly and careful alignment | One source page across a larger display |
Use the page count as a production decision
Booklet workflows add another constraint. A folded sheet contributes four pages, so booklet page counts need to follow multiples of 4, such as 4, 8, 12, or 16. If the source doesn't fit that pattern, blank pages may need to be added so folding produces the intended sequence. The underlying printing rule and its relationship to booklet production are described in this guide to inserting PDF pages.
For a more deliberate grid, use the n-up PDF layout workflow and choose the layout according to the intended reading distance. Pick 2-up when people must read the sheet, 4-up when they need a compact visual index, and poster mode when the output needs to be seen from across a room.
Settings That Control How the Final Page Looks
The preset rarely determines the whole result. Pages per sheet, orientation, scaling, margins, and normalization decide whether the exported page looks intentional or like a collection of mismatched thumbnails.
The five controls that matter
| Setting | Typical Options | Effect on Output |
|---|---|---|
| Pages per sheet | 2-up, 4-up, custom grid | Sets how many source pages share the canvas |
| Orientation | Portrait, landscape, automatic | Determines the direction and available width |
| Scaling mode | Fit, fill, actual size | Balances complete visibility against native dimensions |
| Margins | None, narrow, standard, custom | Creates separation or protects page edges |
| Page-size normalization | Preserve, normalize, match canvas | Makes mixed source dimensions behave consistently |
Pages per sheet controls density, but it also controls legibility. A four-page grid may leave plenty of white space around a presentation slide while making a densely formatted report difficult to read. Preview the smallest meaningful text, not just the overall arrangement.
Orientation should follow the source material. Wider page formats are often more natural for slides and wide diagrams, while portrait suits letters, forms, and conventional reading pages. Automatic orientation can save time, but inspect pages individually when the source mixes portrait and wider content.
Scaling is where many clipped outputs begin. “Fit” reduces a page until the complete page fits inside its tile. “Actual” preserves native dimensions and can push content beyond the available tile, which may clip edges. “Fill” uses more of the tile but can distort or crop content depending on the implementation.
Margins aren't cosmetic when source pages contain edge-to-edge graphics, legends, or page numbers. A narrow safe area separates neighboring tiles and protects content from printer non-printable regions. If a footer disappears, reduce the tile scale or increase the canvas rather than forcing the page to fill every available pixel.
Normalization matters when source pages have mixed dimensions, such as Letter and A4. Without a common page box, one tile may scale differently from the next, leaving uneven margins or inconsistent text sizes. The PDF page resizing guide is useful when the source needs to be standardized before the n-up composition.
Production habit: Set the final paper or display size first. Then choose the grid and scaling mode. Reversing that order often creates avoidable clipping.
A Print-to-PDF Alternative for Built-In N-Up Output
A virtual printer can produce an n-up PDF without opening a separate browser service. Consider a freelancer preparing a six-page report for a quick client review. The aim is a compact proof, not a polished final publication, so the operating system's print dialog may provide exactly the controls needed.
A focused print path
Open the report and choose Print. Select the installed PDF printer, then open the layout or finishing options and set Pages per sheet to 4. Confirm the paper orientation, review the preview, and choose a destination filename that distinguishes the condensed review copy from the original.
The key is to print the document to a new PDF rather than to a physical printer. The virtual printer receives the same page layout instructions, but writes the composed sheets to a file. After saving, open the new PDF and check that the page order follows the intended reading direction.
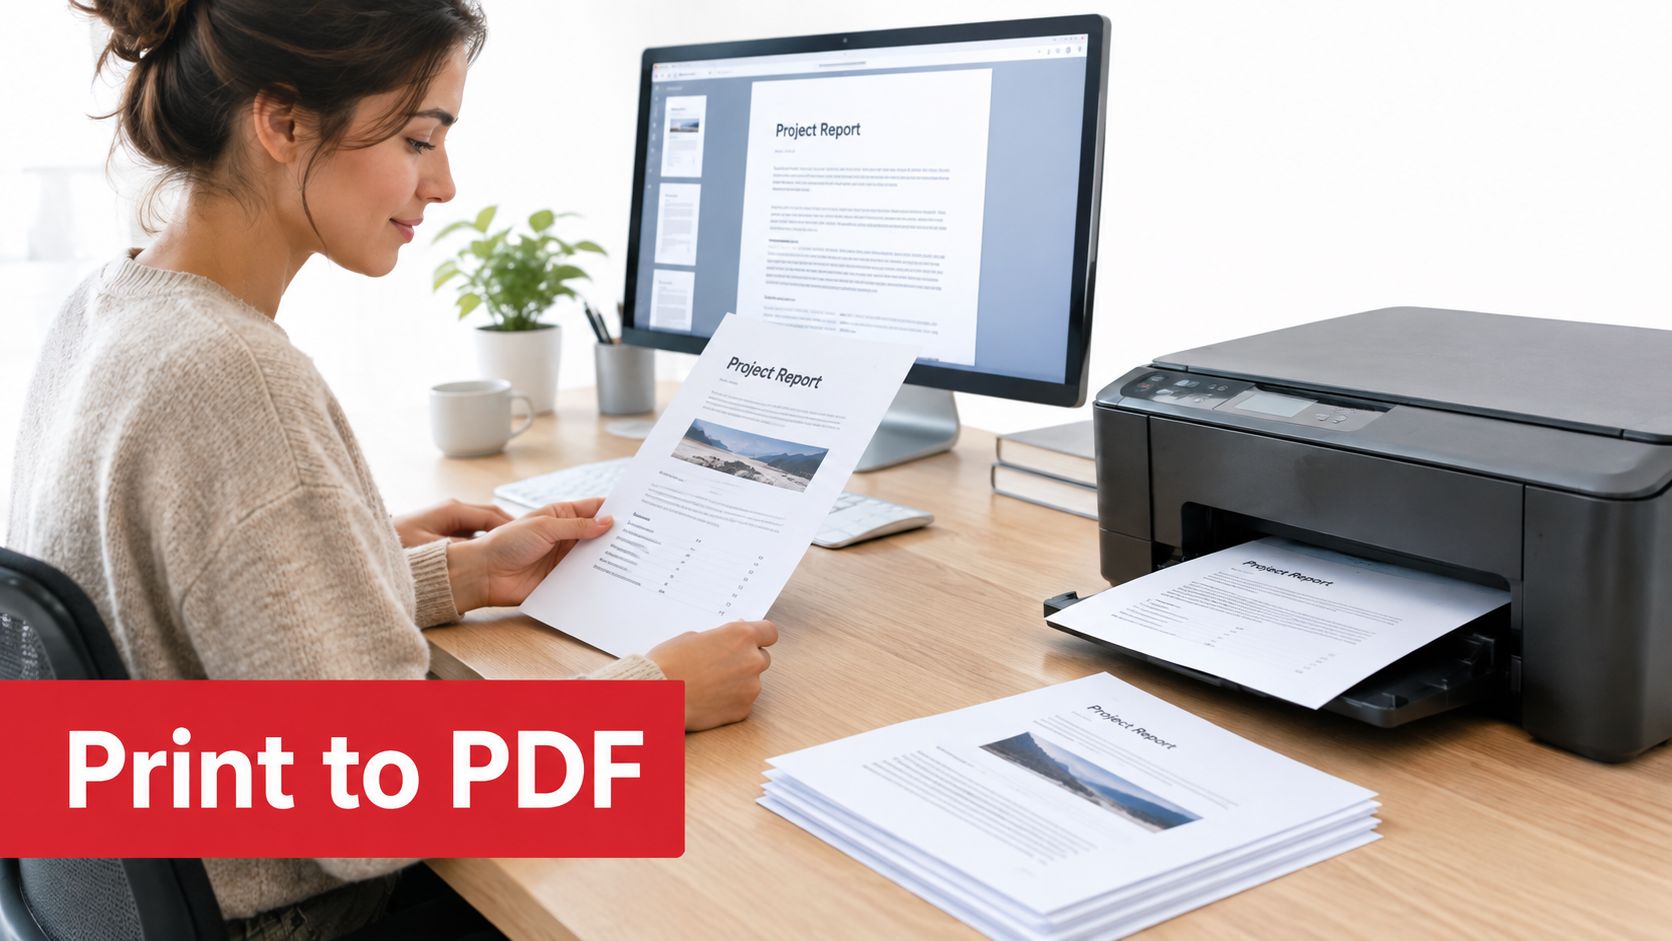
This method is strong for a one-off handout because it uses tools already present on many desktop systems. It doesn't require an account or an upload step, which makes it a sensible choice for confidential material and offline work.
Know what the print route gives up
Print-to-PDF usually exposes fewer controls than a dedicated n-up interface. Margin behavior may be tied to the printer driver, page ranges can be less expressive, and batch processing several unrelated files may require separate print jobs. It also may flatten interactive elements or forms into a presentation-oriented output, depending on the application.
Use the print path when:
- Privacy comes first: The document should remain on the workstation.
- The job is one-off: You need a quick review sheet rather than a reusable layout preset.
- Connectivity is limited: The workflow must work offline.
- The source is already open: Switching applications would add more friction than value.
For multiple documents or repeated production work, a browser toolkit with explicit page-range, normalization, and preview controls is easier to manage. For a single sensitive handout, the built-in print route is often the cleaner operational decision. Instructions for sending several source files through one print workflow are available in this guide to printing multiple PDF files at once.
Accessibility and Privacy Trade-Offs You Should Not Skip
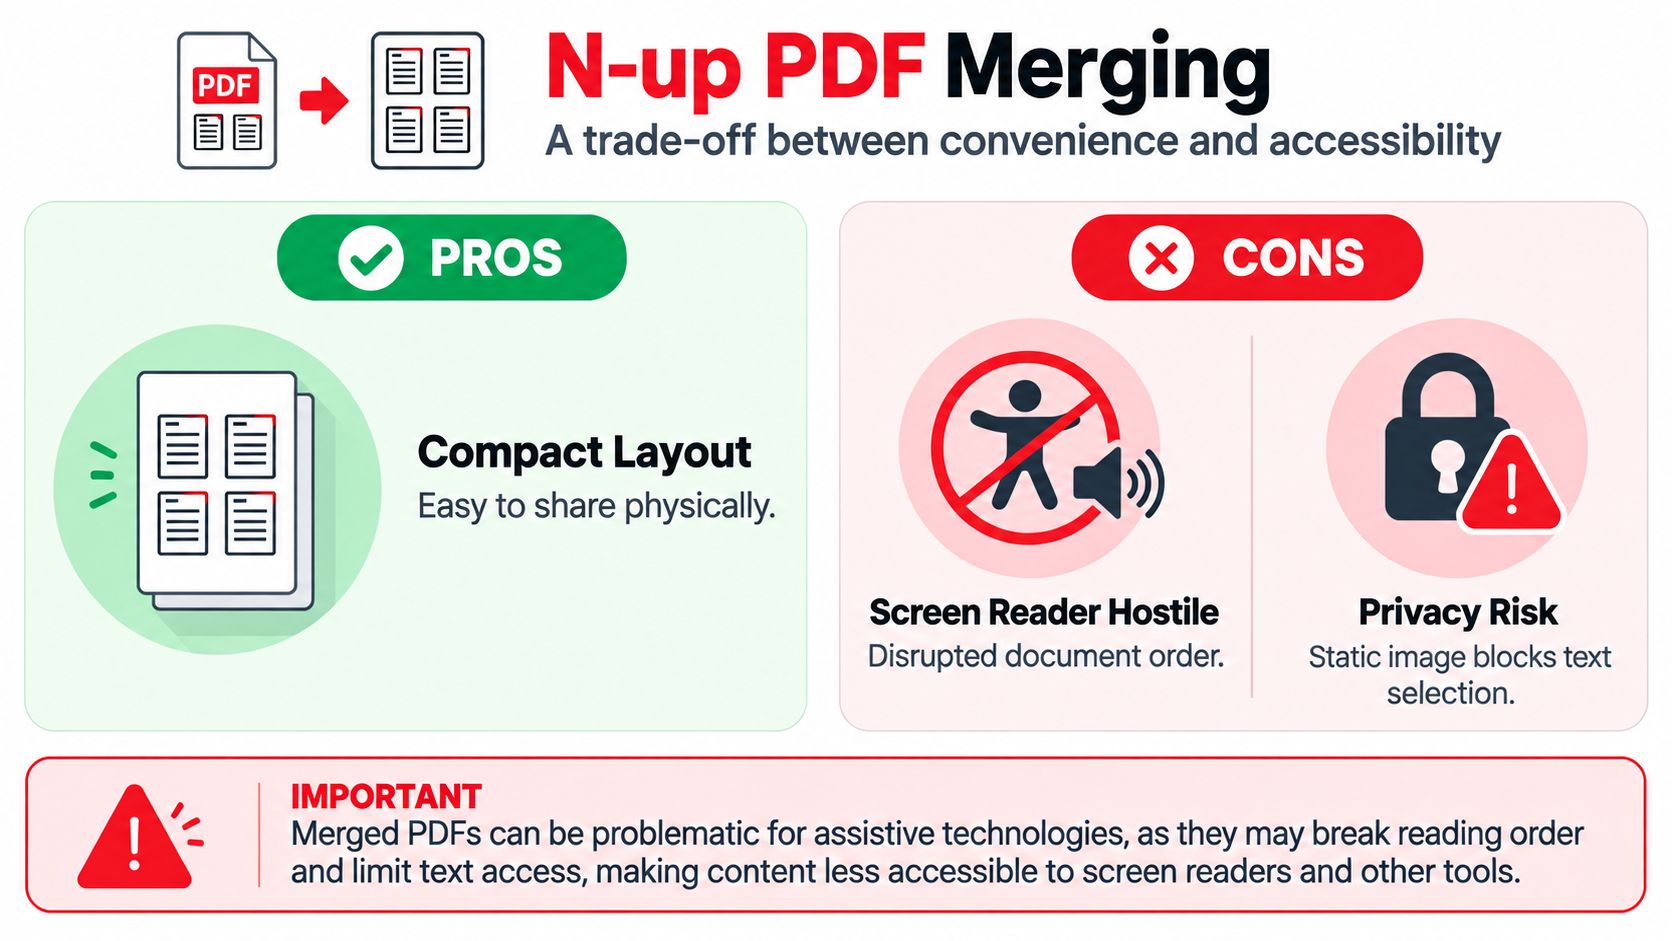
A tiled PDF may look tidy while becoming difficult or impossible to use with assistive technology. Screen readers follow tag order, not the visual placement of tiles. If four source pages share one canvas without a logical structure, the reading sequence may differ from the left-to-right or top-to-bottom arrangement visible to a sighted reader.
N-up output should support an accessible source document, not replace it. A compact review sheet works as a visual reference, but it should not be the only copy provided to someone who relies on text-to-speech, reflow, enlarged text, or keyboard navigation.
Preserve the accessible source
Tags define headings, tables, and reading order. Establish that structure in the source document, where remediation is easier and later updates are less likely to invalidate the work. The PDF accessibility guide covers source-first structure and reading-order checks in more detail.
If the input is scanned or image-only, run OCR before addressing tags. Tags cannot recreate text that does not exist in the file. Automated checkers can identify missing structural elements, but they cannot reliably determine whether the reading order still makes sense after visual reflow.
Test the final file with the assistive technology people will use. Keep the original structured document beside the condensed print version. The PDF accessibility overview also explains why source-first structure and reading-order checks matter.
Treat privacy as a separate decision
A server-side workflow sends the document to a third party for processing. A client-side workflow can keep the file in the browser, although available device memory and document size set practical limits. For confidential contracts, financial records, or personal data, processing location belongs in the selection criteria from the start.
Do not label a tiled copy as the accessible master. Mark it as a visual or print reference, and retain the original structured PDF for search, reflow, and assistive use.
Quick Troubleshooting and Final Checklist
Most failed n-up exports aren't mysterious. One layout setting usually explains the blank tile, distorted page, missing edge, or unreadable text. Use the symptom first, then change one control and preview again.
| Symptom | Likely Cause | Fix |
|---|---|---|
| Blank tile appears at the end | The selected page range doesn't fill the grid | Remove the empty slot or accept it intentionally as a final blank |
| Pages look stretched | A fill or distortion mode changed the aspect ratio | Use Fit or preserve the source aspect ratio |
| Text or legends are cropped | Actual size exceeds the tile, or margins are too narrow | Switch to Fit and add a safe margin |
| One page is visibly larger | Source pages have mixed dimensions | Normalize page sizes before composition |
| Reading order feels wrong | The grid direction doesn't match the source sequence | Change row or column ordering and inspect the preview |
| Text is too small | Too many pages share the canvas | Move from 4-up to 2-up, or use poster output for visual material |
| Landscape pages rotate awkwardly | Orientation was forced globally | Use automatic orientation or normalize the source first |
Make three decisions before opening the tool
- Choose the layout: Select 2-up for readable pairs, 4-up for compact review, or poster mode for enlarged display work.
- Choose the canvas: Decide whether the final output is intended for portrait paper, horizontal paper, or a larger assembled display.
- Choose the purpose: Separate a digital visual reference from a printable handout and from an accessible master document.
If the output is for print, inspect margins and physical readability at the intended paper size. If it's for screen review, test zooming and text selection. If the file will be archived, preserve the original page structure rather than replacing it with the condensed copy.
The fastest reliable workflow is to set the canvas, choose the page density, normalize mixed pages, preview the smallest text, and only then export. That sequence catches most production errors before the file reaches a printer, client, or archive.
PDFWix provides browser-based tools for merging and arranging PDF pages, including workflows that keep page processing on the device for supported tools. Use PDFWix to create a condensed n-up PDF, check the preview, and prepare a cleaner handout or visual review copy without changing your original source file.