
You've photographed your ID, a signed form, or ten pages of coursework on your iPhone. The upload box asks for a PDF, your phone gives you HEIC, and the deadline is today. Converting isn't hard. The risk is sending a file that's sideways, washed out, or still carrying your home address in its hidden location data. Pick the right route for your device, check what's inside the photo before it leaves your hands, and the PDF will pass without a second attempt.
Table of Contents
- Choose the Right HEIC to PDF Method
- Convert HEIC to PDF on iPhone, Mac and Windows
- Batch Convert HEIC Photos in Your Browser
- What Survives When HEIC Becomes PDF
- Check Hidden Photo Data Before You Share
- Fix Sideways, Washed-Out and Oversized PDFs
- Confirm the PDF Before You Send It
Choose the Right HEIC to PDF Method
This search exists because phones and submission systems want different formats. Apple notes in its WWDC 2017 session on HEIF and HEVC that iOS 11, released in 2017, could capture photos as HEIF images using HEVC, producing .HEIC files. School portals, government forms, and job sites still ask for PDF, so you need a bridge that fits your device and file count.
| Method | Works on | Best for | Watch out for |
|---|---|---|---|
| Mac Preview export | macOS | One to a few photos, fully offline | Page sized to the photo, no batch ordering |
| iPhone Share, Print, Save to Files | iPhone and iPad | One photo, done on the phone | Print preview can scale the image |
| Microsoft Print to PDF | Windows 10 and 11 | One or several photos | May need the HEVC codec extension for HEIC |
| Browser HEIC to JPG, then JPG to PDF | Any browser on phone or PC | Batches and mixed devices | Two steps; check page order |
| Desktop batch converter | Windows or Mac | Hundreds of files | Software to install and update |
Pick by file count first
For one photo, I'd stay on the device that already holds it. The native route avoids uploading anything and finishes in under a minute. For a handful of photos on a computer you control, Preview or Print to PDF is enough, as long as you check orientation and page fit.
Batches change the calculation. Ordering, renaming, and combining pages matter more than raw speed, and a browser workflow handles those jobs better than printing files one by one. If you're using a shared computer, you can also save images as PDF files through a browser based tool rather than installing software you'll have to remove later.
Practical rule: One photo on an iPhone takes the Share route. Anything larger, or anything on a shared computer, takes the browser route.
Convert HEIC to PDF on iPhone, Mac and Windows
Native routes keep the file on your device, which matters for IDs, medical letters, and signed contracts. Each one writes a real PDF, but each one also has a familiar slip.
1. iPhone
Open the photo in Photos, tap Share, then Print. Pinch out on the print preview until it becomes a PDF thumbnail, tap Share again, and choose Save to Files.
That Print sheet is the built in path that writes a PDF straight from the photo, with no extra app. Don't delete the original until you've opened the saved file in Files. If the PDF is blank or cropped, you still need the source to try again.
2. Mac
Select the HEIC file in Finder, open it in Preview, choose File, then Export as PDF, pick a folder, and save. Preview decodes HEIC natively, so you don't need additional software.
Rotate the photo before you export. Preview keeps the orientation you leave it in, and fixing a sideways page later means another step. Check the location and device data before saving, too, especially if the PDF is going to a landlord or employer who'll keep it on record.
3. Windows
Open the photo in Photos, press Ctrl+P, choose Microsoft Print to PDF, set the layout to Fit or Fill, click Print, and name the file. Fit keeps the whole photo visible. Fill uses more of the page but can crop edges, so it's a poor choice for documents with text near the margin.
Leaving the layout at Actual size is the common mistake. You'll get a small image sitting on a large page, and small text becomes hard to read. If Photos won't open the HEIC file at all, install the HEVC codec extension and try again, because Windows needs that decoder before it can render the image.
If you'd rather convert the image format first, our guide on how to convert HEIC photos to JPG covers that intermediate step. Whichever route you use, open the finished PDF in a second viewer before you send it. A file that looks right in one app can still show a rotation or scaling problem in another.
Batch Convert HEIC Photos in Your Browser
Use the browser route for batches, or when you're on Android or a Chromebook and don't have a native HEIC to PDF path. It's two conversions, but it gives you control over page order and produces one combined file.
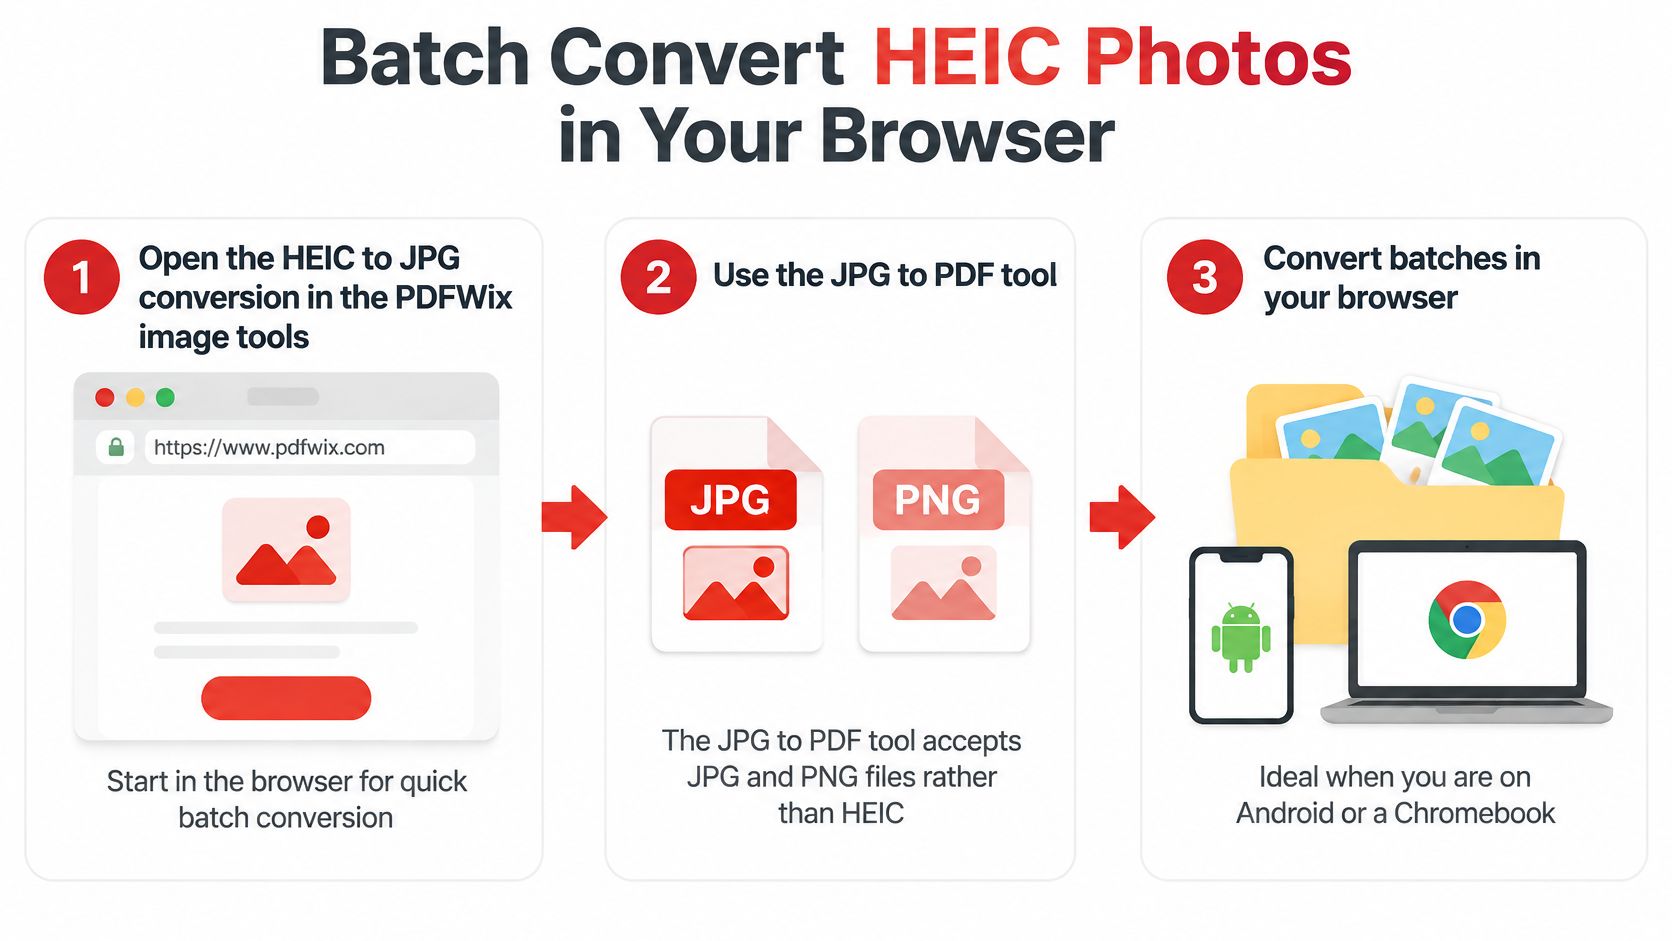
- Convert HEIC to JPG first: Open the HEIC to JPG conversion in the PDFWix image tools. The JPG to PDF tool accepts JPG and PNG files rather than HEIC, so converting first avoids a failed upload.
- Add your files: Drop in your HEIC files or click to select them, then download the JPG outputs. Keep them in one folder so nothing goes missing between steps.
- Build the PDF: Open the JPG to PDF tool and add the JPG files.
- Order the pages: Drag pages into the sequence you need and check that each one is upright. Sort by capture date, not filename.
- Convert and download: Run the conversion and download one combined PDF with a name that matches the submission, such as the course code or application reference the recipient asked for.
Why capture date beats filename
Filename order breaks easily. Renamed, AirDropped, or edited copies lose their original sequence, and unpadded numbers put IMG_10 before IMG_9. Sorting by filename can also place IMG_0420 before IMG_0412 if files came from different devices. Capture date follows the order you took the photos, which is usually the order a reader expects.
Ordering before export saves real work. Fixing sequence inside a finished PDF means reopening, dragging pages, and re exporting, and every extra round trip is another chance to send the wrong version. Do it once, while the thumbnails are in front of you.
Keep the JPG files until you've checked the final PDF page by page. They're your fallback if one page comes out sideways or soft, and rebuilding from them takes seconds. Delete them after the recipient confirms receipt, not before.
If you're unsure what happens to files in a browser tool, read our explainer on whether online PDF tools are safe before you upload anything sensitive.
What Survives When HEIC Becomes PDF
A PDF page holds a rendered picture of your photo and drops the original container. That one fact explains most surprises after conversion.
| Format | Colour depth | Transparency | Editable text or layers | Best use |
|---|---|---|---|---|
| HEIC (HEIF with HEVC) | 8-bit in HEIC profiles; HEIF can represent 10-bit and 12-bit data | Yes, alpha supported | No | Camera originals and storage |
| JPG | 8-bit per channel | No | No | Photo sharing and the web |
| PDF with photo pages | Set by the embedded image | Set by the embedded image | No, a picture of the photo | Forms, submissions and printing |
HEIC stores an efficient HEVC image inside a HEIF container, which is why iPhone photos stay small without looking compressed. JPG drops to 8-bit per channel with no transparency. PDF keeps whatever rendered image you place on the page, so quality depends on the image you embed and the compression you apply. What also travels into the PDF is whatever the converter decides to keep, and converters often carry the photo's hidden stored data along with the pixels.
Say you photograph a signed page on your phone and convert it. The PDF looks identical on Windows, Mac, and Android, signature in the right place, margins intact. Yet nobody can select the words, search for a date, or copy an account number, because the text is pixels. You would need text recognition afterwards to make it searchable. Live Photo motion and the original camera container stay behind as well.
That consistency is why recipients ask for PDF. The ISO Focus account of PDF standardization records that Adobe invented PDF in 1993 and that the completed specification was published as ISO 32000-1:2008. An internationally standardized container renders the same across viewers, which is exactly what a school, landlord, or employer wants when your file leaves your hands. Our comparison of the difference between PDF and JPG goes deeper on when each format wins.
If the recipient needs to edit or search the content, keep the original HEIC next to the PDF and say so in your cover note.
Check Hidden Photo Data Before You Share
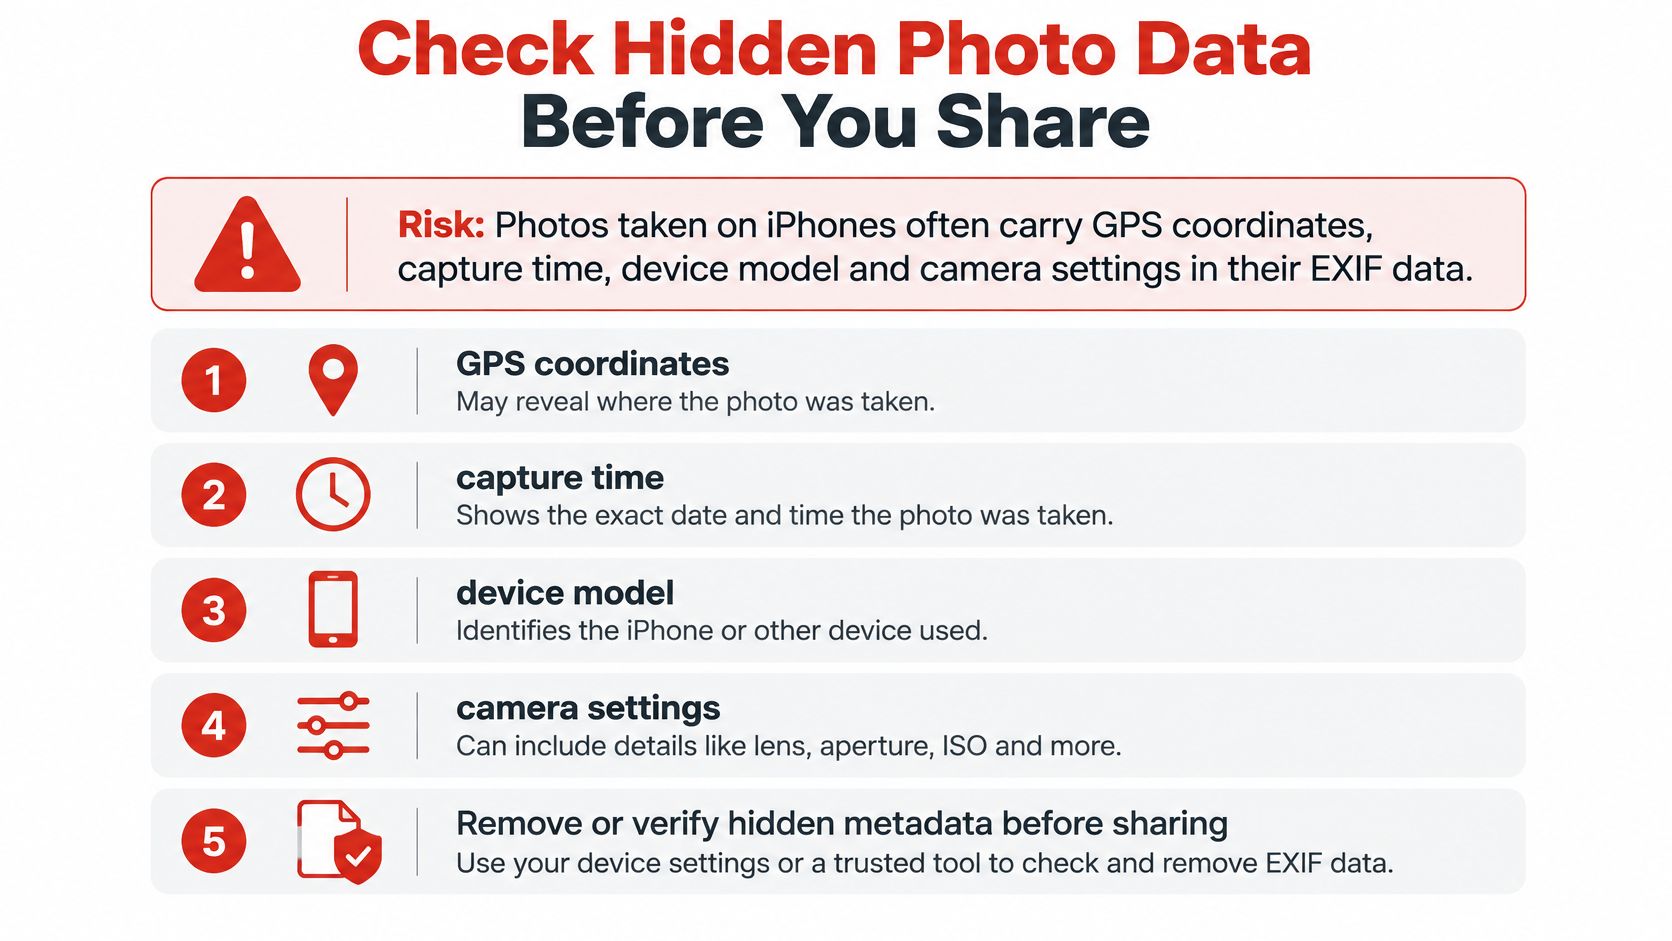
A PDF is not automatically private. iPhone photos often carry GPS coordinates, capture time, device model, and camera settings in their EXIF data, and a converted PDF can keep those details unless you remove them. That file may then sit on record with a school, landlord, or employer.
Ask four questions of any converter before you use it.
- Does it upload the image: Local processing and server processing carry different risks.
- Where does processing happen: In your browser, or on someone else's computer?
- How long are files kept: HTTPS protects a file in transit and says nothing about storage.
- Are EXIF fields removed: Compatibility doesn't guarantee that location data is gone.
Most of our core tools, including JPG to PDF, run in the browser so the file is not uploaded, and HTTPS is used on every PDFWix upload and download. The deletion and retention policy matters as much as the connection wherever an upload does happen.
| Platform | Where to look | Action |
|---|---|---|
| iPhone | Share sheet, Options | Switch Location off before sharing |
| Mac | Preview, Tools, Show Inspector, GPS section | Remove location info, then export |
| Windows | File Properties, Details tab | Remove Properties and Personal Information |
Check location first, strip what you find, then convert again. You can use our tool to remove EXIF data from the image before it becomes a PDF, then open the finished PDF's properties to confirm no location or device fields remain.
For photos you haven't taken yet, stop the data at the source. Open Settings, then Privacy & Security, then Location Services, then Camera, and set it to Never for photos you'll send to strangers.
Fix Sideways, Washed-Out and Oversized PDFs
Three failures account for nearly every bad HEIC to PDF result. Each one has a specific cause inside the file, and each fix follows from that cause.
Sideways pages
Your photo's orientation is stored as metadata, not baked into the pixels. Some converters ignore that flag and place the image in its raw sensor orientation. Rotate the affected page with our tool to rotate PDF pages, save, and reopen the file to confirm it stayed upright. Check every page in a batch, because portrait and wide shots often sit side by side.
Washed out or shifted colours
iPhone HEIC files can use wide gamut colour such as Display P3, plus HDR data. A basic export that assumes plain sRGB flattens highlights and shifts skin tones. The Library of Congress format description for HEIF and HEIC notes that HEIC and HEIX profiles are limited to 8 bits per channel and 4:2:0 chroma subsampling, while HEIF can represent 10-bit and 12-bit data and wide gamuts such as Display P3 or BT.2020.
Compare one sample page against the original at 100% zoom. Look at skin tones, gradients, and bright highlights, because those show colour problems first. If the difference is visible, re export with colour preserved rather than accepting the flat version.
Oversized files
A batch of high resolution phone photos can exceed email and portal limits fast. Use our tool to compress PDF files at a medium level first, then zoom in on the smallest text. If reference numbers and dates stay readable, you're done. Go higher only if you must, because aggressive compression softens exactly the fine detail a reviewer needs.
Test five or so files from both an iPhone and an Android phone before you run a batch of two hundred. A converter must read orientation, colour profile, and bit depth correctly on every source, and a small test exposes failures while they're cheap to fix.
Confirm the PDF Before You Send It
Send only a PDF that passes four checks. They take two minutes and catch the errors recipients complain about.
- Open it in two viewers: Use your phone's built in viewer and a desktop browser. Rotation and scaling faults often appear in only one.
- Zoom to 100%: Check text, edges, and skin tones against the original photo for sharpness and colour.
- Read the page order: Confirm orientation and sequence on every page, not just the first.
- Verify the metadata: Confirm location and device fields are cleared before the file leaves your hands.
If the recipient needs to edit or search the content, say so in the cover note and send both files, so they don't assume the PDF text is selectable. Keep the original HEIC files in an archive folder either way.
That archive matters most when a file comes back. A rejection for size means compressing harder or splitting the document before you resend. An "unreadable" or "corrupt" error means the export itself failed, so rebuild the PDF from the HEIC originals instead of re-saving the rejected copy. A file bounced for the wrong format usually means the portal wanted the photos themselves, which the archive already holds.
Convert your HEIC photos to JPG, combine them into one ordered PDF, then rotate, compress, or strip EXIF data without installing anything or creating an account. Visit PDFWix to run the whole workflow in your browser and send a file you've already checked.